
Robot design
On this page you will learn everything important about our robot, how it is programmed and more.
We use this page to present the most important of these to the judges at our competitions.
Because it is extremely important to us to share our knowledge with you,
we wrote this website.

We discuss our strategy together at the beginning of each season. It then evolves over the course of the season, for example, by adding more runs.
Our strategy
We make sure to plan only short and therefore reliable runs
It is also very important to us that we only approach each area of the mat once
Furthermore, we tried to solve as many tasks as possible at the same time in our runs

Module development
Collect ideas

When we want to develop a module, all designers gather together and collect ideas and suggestions for solutions
Prototyping
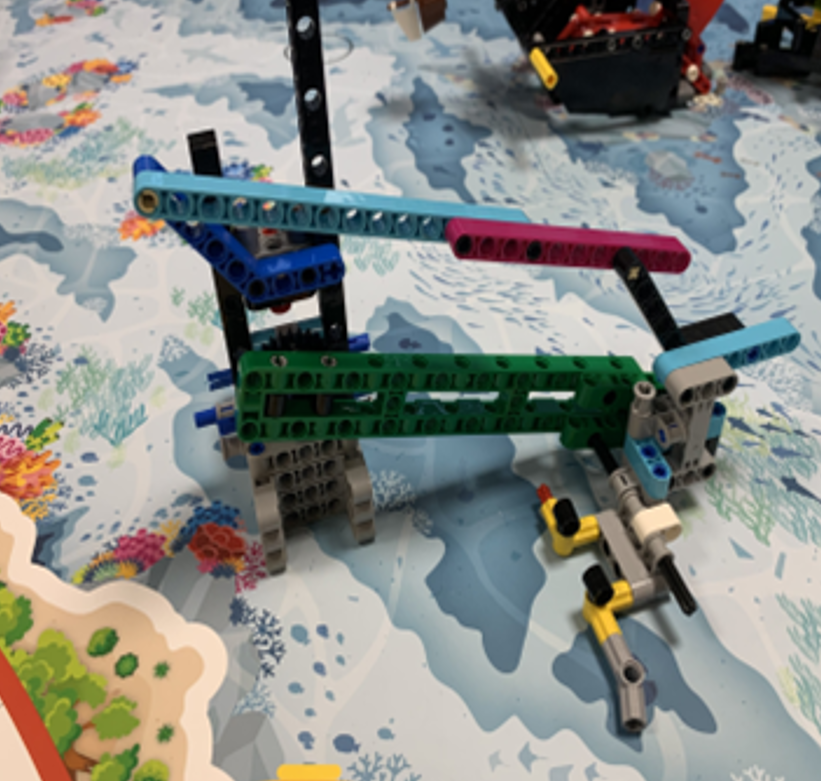
Next, we build various mechanisms as prototypes and try to find the best possible solution and, if necessary, improve it
module

After we've created a good prototype, we build the finished module. Small improvements are also made there.
Test phase

During the extensive testing phase, we test our robot to identify errors as quickly as possible


Error management


YouTube
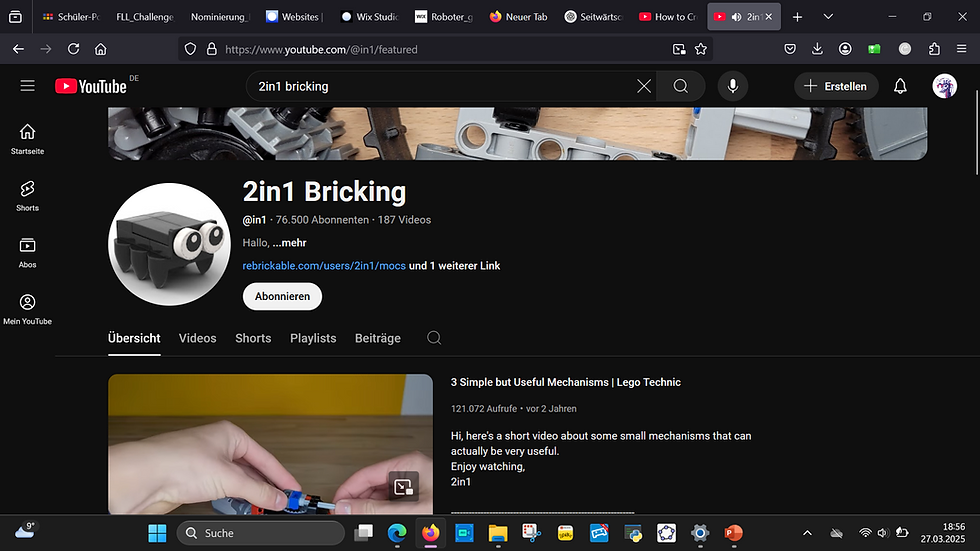
We use various YouTube videos to gain further skills
Github repositories
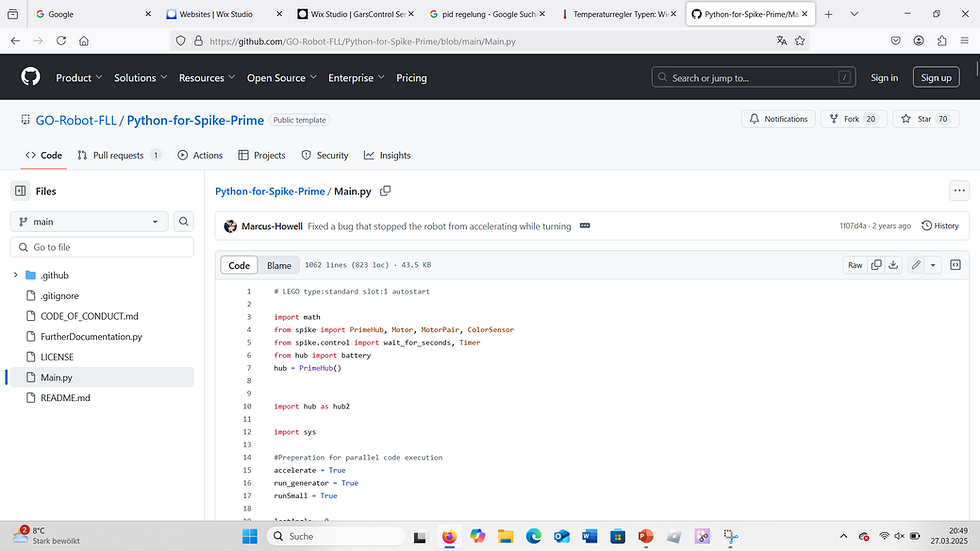
In order to acquire such a broad area of expertise for Lego robot software, we have used various Github repositories
Experts
Contact
OStR Marco Grees
Gymnasium Gars
Roboticboys

MANO Sapiens

Marbots

R2D2
If errors occur, we contact our various experts. These include the Roboticboys, the computer scientists, the ManoSapiens (Dieter Goedel) and the MarBots (Jannik Goldbach).


Version management

Lego Education
Until two years ago, we used the Lego Education software with Scratch. Recently, we gained valuable experience with advanced controllers, such as the PID controller for our gyro control.
Lego Education
Until two years ago, we used the Lego Education software with Scratch. Recently, we gained valuable experience with advanced controllers, such as the PID controller for our gyro control.

Lego Education
Until two years ago, we used the Lego Education software with Scratch. Recently, we gained valuable experience with advanced controllers, such as the PID controller for our gyro control.

Robot-C
After gaining some experience with the roof finale, we decided to use Robot-C with the EV3. One of the reasons for this was the short time required to query the sensors using the C programming language.

Pybricks
After first encountering Pybricks during WRO 2024, we were immediately impressed by the precision and features of the software.
We quickly learned more and more about it and used our knowledge to write innovative programs.

Pybricks in VSCode
Ultimately, when we were looking for ways to use Pybricks even more professionally, we came across Visual Studio Code, which offers a professional development environment and the familiar Pybricks features. We will definitely continue to use this in the future.
Robot-C
After gaining some experience with the roof finale, we decided to use Robot-C with the EV3. One of the reasons for this was the short time required to query the sensors using the C programming language.
Lego Education
Until two years ago, we used the Lego Education software with Scratch. Recently, we gained valuable experience with advanced controllers, such as the PID controller for our gyro control.
Pybricks
After first encountering Pybricks during WRO 2024, we were immediately impressed by the precision and features of the software.
We quickly learned more and more about it and used our knowledge to write innovative programs.
Pybricks in VSCode
Ultimately, when we were looking for ways to use Pybricks even more professionally, we came across Visual Studio Code, which offers a professional development environment and the familiar Pybricks features. We will definitely continue to use this in the future.
Lego Education
Lego Education
Until two years ago, we used the Lego Education software with Scratch. Recently, we gained valuable experience with advanced controllers, such as the PID controller for our gyro control.
Lego Education
Until two years ago, we used the Lego Education software with Scratch. Recently, we gained valuable experience with advanced controllers, such as the PID controller for our gyro control.
Robot-C
After gaining some experience with the roof finale, we decided to use Robot-C with the EV3. One of the reasons for this was the short time required to query the sensors using the C programming language.
Pybricks
After first encountering Pybricks during WRO 2024, we were immediately impressed by the precision and features of the software.
We quickly learned more and more about it and used our knowledge to write innovative programs.
Pybricks in VSCode
Ultimately, when we were looking for ways to use Pybricks even more professionally, we came across Visual Studio Code, which offers a professional development environment and the familiar Pybricks features. We will definitely continue to use this in the future.
PID controller

kp = constant
kd = constant
ki = constant
target = 0
error = target - angle
integral = integral + error
derivative = error - last_error
correction = (error * kp + integral * ki + derivative * kd)
last_error = error
The PID controller is a versatile controller that allows you to reach and maintain a target value without significant fluctuations. A significant disadvantage of this controller is the need to precisely adjust the constants, which is very time-consuming.
We use the PID controller for example for our straight driving with the gyro sensor, as well as in our line follower

navigation
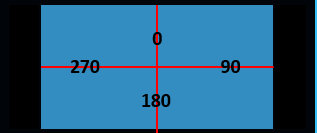
With our proprietary navigation system, you only ever enter the target angle to which the robot should rotate. Sensor values such as the rotation sensors and gyro sensors are only reset at the beginning of each run to ensure optimal alignment and continuously correct deviations.
This is made possible by, among other things, the precise calibration of the gyro
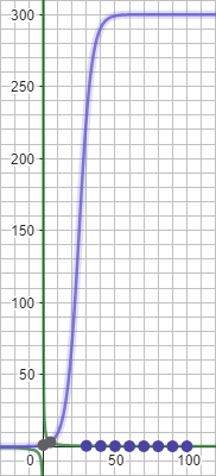
speed

Our unique and innovative speed calculation solves all problems, such as the play of the Lego motors.
The function automatically adapts to the given acceleration ranges. We developed this function in Geogebra


3D modeling


Add paragraph text. Click “Edit Text” to update the font, size and more. To change and reuse text themes, go to Site Styles.
Fll 2018/19

Add paragraph text. Click “Edit Text” to update the font, size and more. To change and reuse text themes, go to Site Styles.
Fll 2020/21

Add paragraph text. Click “Edit Text” to update the font, size and more. To change and reuse text themes, go to Site Styles.
Fll 2019/20

Add paragraph text. Click “Edit Text” to update the font, size and more. To change and reuse text themes, go to Site Styles.
Fll 2021/22

Add paragraph text. Click “Edit Text” to update the font, size and more. To change and reuse text themes, go to Site Styles.
Fll 2022/23

Add paragraph text. Click “Edit Text” to update the font, size and more. To change and reuse text themes, go to Site Styles.
Fll 2023/24

Add paragraph text. Click “Edit Text” to update the font, size and more. To change and reuse text themes, go to Site Styles.
Fll 2024/25


